Building a Raspberry Pi-based home Internet router using a CM4 and DFRobot router board
— raspberry-pi, networking, hardware, openwrt — 11 min read
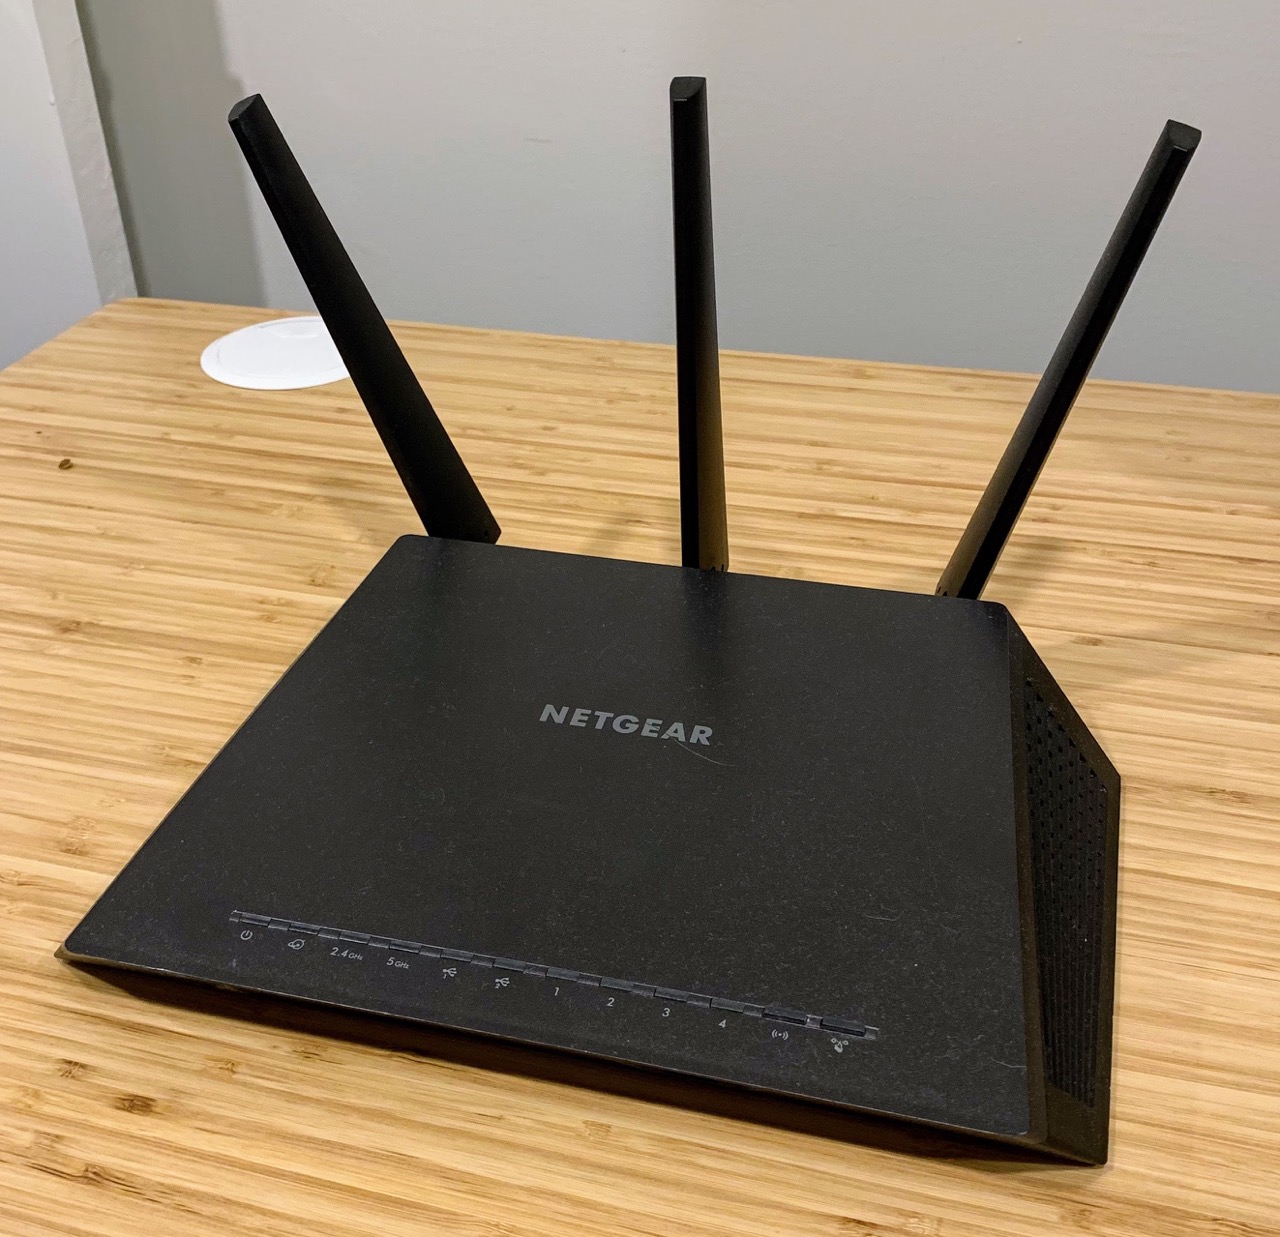
It all started when my home wireless network connection started acting up. I decided it was time to upgrade my 2013-vintage Netgear R7000 to something newer. In the last 9 years, there must have been some awesome improvements in wireless router technology anyway, right?
Wrong. I tried a few new Wifi 6 routers. I was totally surprised to see that the newer routers actually performed on-par with or worse than the old router in terms of wireless connection strength and speed. After some deliberation, I gave up on joining the Wifi 6 wave and decided that I'd stick with my current router model. Evidently, my R7000 was an oldie but goodie that could hold its own even among routers almost a decade newer. I picked up another R7000 off Kijiji and my wifi connection issues were solved.

There was only one problem: the R7000's software. Netgear is notorious for router security vulnerabilites and the stock firmware's web-based admin UI is dated, to say the least. Considering the router's age, I coudn't imagine that Netgear was investing much effort in improving the firmware and keeping it secure. Though the stock firmware's feature set wasn't bad (supporting e.g. VPN and QoS), I was curious if it could do more.
I first explored installing DD-WRT, which has good compatibility with the R7000. I ended up running into some issues with the installation, and was also concerned about having lower network throughput compared to the stock firmware, due to DD-WRT lacking proprietary hardware acceleration. I probably could have made it work, but in the end I decided to ditch installing DD-WRT on the R7000 in favour of a different approach altogether.
I decided to keep the R7000 doing wifi, which it does best, and leave everything else to a separate, dedicated router. Ubiquiti's lineup actually served as the inspiration for the approach, but it was pricey and suffering from severe stock shortages at the time. I had come across OpenWRT, which met many of my goals: feature-packed, actively developed, and open. As for hardware, I considered a few options like the NanoPi R4S, but was again deterred by supply issues and shipping costs.
What about a Raspberry Pi? They're ubiquitous, great bang-for-buck, and have a vibrant, open community. It turned out that OpenWRT could be installed on a stock Raspberry Pi 4, but would require a USB-to-ethernet dongle for the WAN port, and there would be concerns about bandwidth limitations on the dongle. That's when I came across Jeff Geerling's post about Raspberry Pi-based routers, where he compared two boards that extend the Raspberry Pi Compute Module 4 (CM4). The CM4 is basically an RPi 4 without any ports except for 2 × 100-pin high-density electrical interface connectors; it relies on an extension board to provide physical ports. The beauty of this approach was that it had RPi guts, but provided 2 gigabit ethernet ports without resorting to USB dongles. Even better was that one of the boards tested, the DFRobot Router Carrier Board, connected directly to the Pi's PCI Express bus, eliminating the bandwidth constraints imposed by the USB controller when using a USB dongle.
That settled the plan for the router's hardware and software. Here's how my network was going to look:
Components
| Price (USD) | Part |
|---|---|
| $45 | DFRobot Router Carrier Board |
| $9 | DFRobot Router Carrier Board - Case |
| $30 | Raspberry Pi Computer Module 4 — Model 4001000 - 1GB / No MMC / No WiFi |
| $8 | Raspberry Pi official power supply |
| $15 | microSD card (basically any will do, I used 128GB Sandisk for Nintendo Switch) |
| $107 | Total |
Assembly

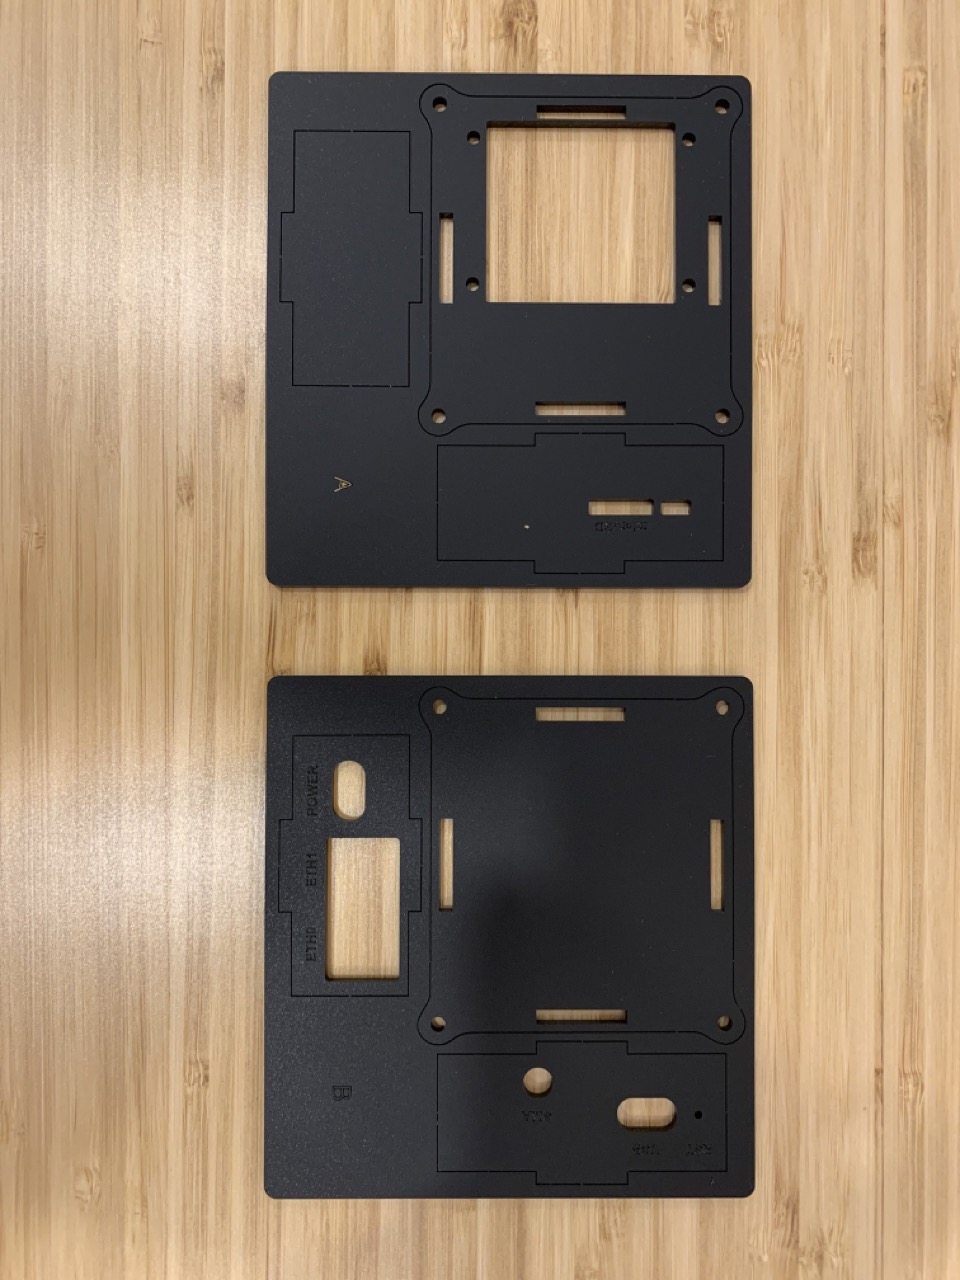
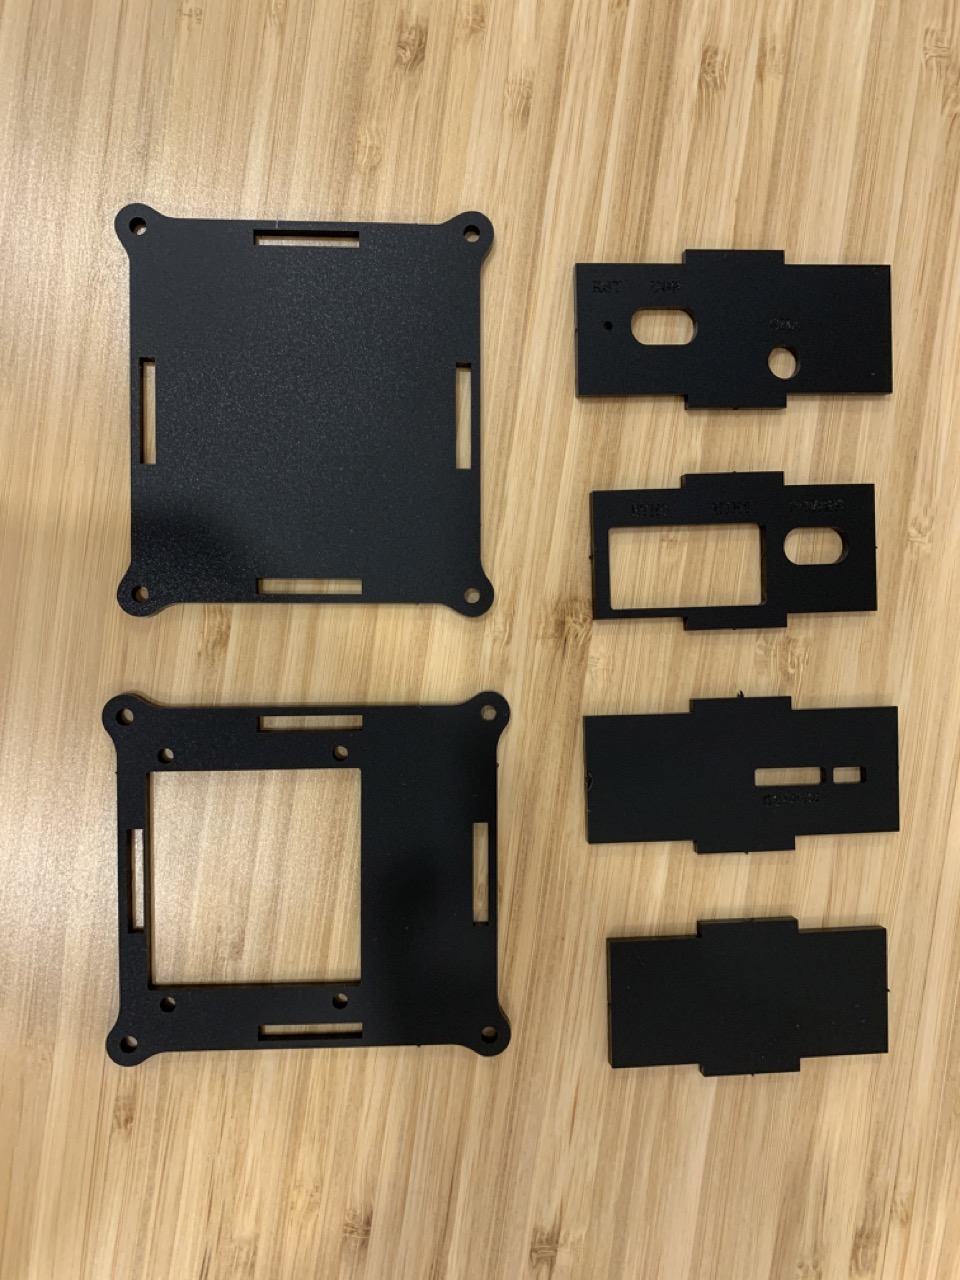
The DFRobot case arrives as two plastic sheets with cut-out parts, along with a heatsink, screws, and washers. After all the cut-out parts are pushed out, the case can be assembled using the assembly instructions.
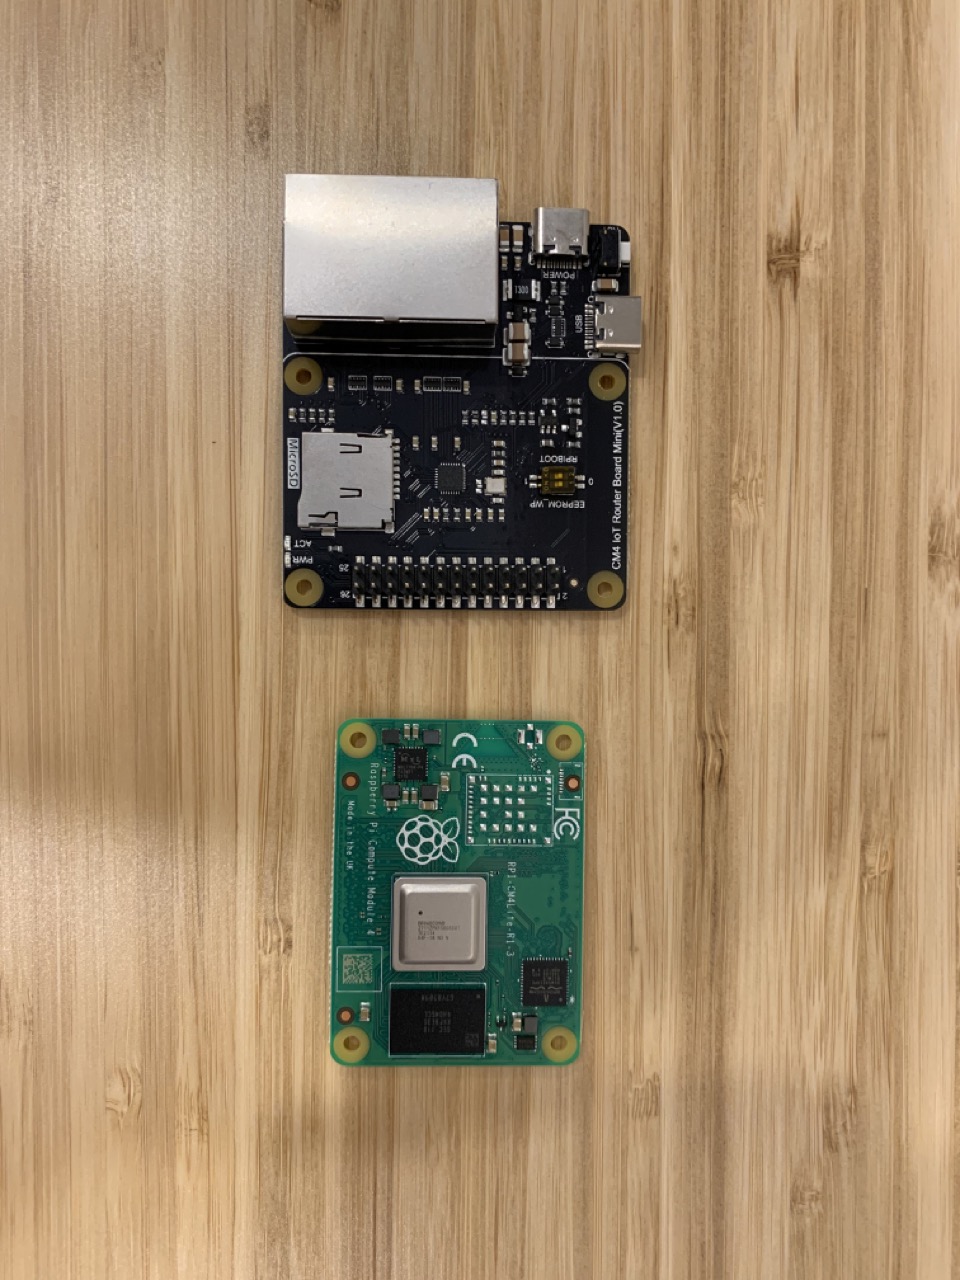
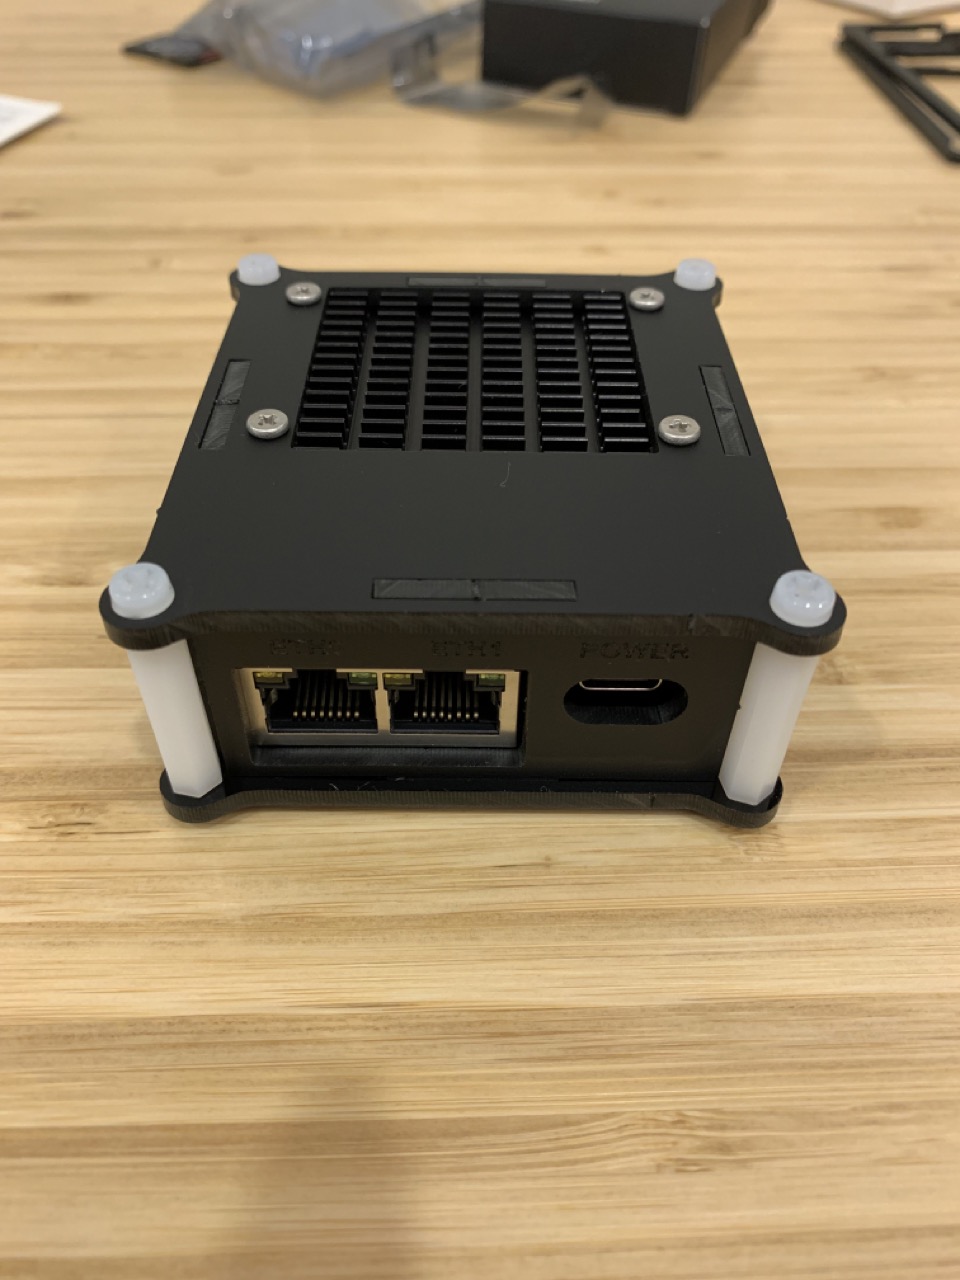
The CM4 (green) and router board (black) are roughly the same size. The router board attaches to the two high-density connectors on the bottom of the CM4. The attached boards can then be secured to the heatsink and case. The finished product is nice and compact.
Software installation
With the router hardware ready to go, the next step is to install OpenWRT on the microSD card. This part turned out to be more involved than I expected. The router board doesn't have any display output, so the only ways to interface with it are via ethernet or serial connection, which requires additional hardware (a USB-to-TTL converter). This means that the software needs to have all the necessary drivers and configuration to be accessible over ethernet on boot, without any user input.
On its wiki page for the router board, DFRobot hosts its own custom build of OpenWRT with the necessary drivers and configuration, but I was hesitant about downloading a disk image directly from them without a mechanism to verify the contents. Instead, I opted to create the image myself based on official OpenWRT sources, using the OpenWRT Image Builder.
Building the custom OpenWRT image
The section below is heavily based on this helpful gist written by Martin Niklasson. These commands need to be run in a Linux environment running on x86 hardware. (Since my main computer is on Apple Silicon, I needed to go find an Intel-based machine to run them.) I used Multipass to quickly get an Ubuntu environment running inside macOS.
I made the version number a variable for the convenience of Internet travellers like yourself. If you're using these commands, you'll want to check the latest release build version of OpenWRT and substitute it for the value of BUILD_VERSION below. As of this writing, it's 21.02.3.
export BUILD_VERSION="21.02.3"
# Install prerequisites for buildsudo apt install build-essential libncurses5-dev libncursesw5-dev zlib1g-dev gawk git gettext libssl-dev xsltproc rsync wget unzip python
# Download the image builderwget https://downloads.openwrt.org/releases/${BUILD_VERSION}/targets/bcm27xx/bcm2711/openwrt-imagebuilder-${BUILD_VERSION}-bcm27xx-bcm2711.Linux-x86_64.tar.xz
# (optional) compute the sha256 checksum, which you can manually ensure matches the one listed here: https://downloads.openwrt.org/releases/${BUILD_VERSION}/targets/bcm27xx/bcm2711/sha256sum openwrt-imagebuilder-${BUILD_VERSION}-bcm27xx-bcm2711.Linux-x86_64.tar.xz
# Unpack the image buildertar Jxf openwrt-imagebuilder-${BUILD_VERSION}-bcm27xx-bcm2711.Linux-x86_64.tar.xzcd openwrt-imagebuilder-${BUILD_VERSION}-bcm27xx-bcm2711.Linux-x86_64Next, I needed to configure the OpenWRT network to be accessible over ethernet as soon as it boots up. I did this by creating the file /etc/config/network inside the OpenWRT filesystem and inserting a valid configuration for the LAN and WAN ports there. Most importantly, this configures the router to use the static IP 192.168.1.1 on the LAN port so that it's accessible from other computers at that address. The OpenWRT website has more details on this config file.
# Create the containing directorymkdir -p files/etc/config
# Write the config into the filecat << EOF > files/etc/config/networkconfig interface 'loopback' option proto 'static' option ipaddr '127.0.0.1' option netmask '255.0.0.0' option device 'lo'
config globals 'globals' option ula_prefix 'fdff:ac50:10da::/48'
config interface 'wan' option proto 'dhcp' option device 'eth0'
config interface 'lan' option proto 'static' option ipaddr '192.168.1.1' option netmask '255.255.255.0' option device 'eth1'EOFThe disk image is now ready to be built. I added a few extra packages to the image:
- luci: OpenWRT's web-based user interface
- kmod-r8169: Linux kernel module for the router board's ethernet controller
- kmod-usb-dwc2: Linux kernel module for the Raspberry Pi USB controller
I ran the following to kick off the build process, including the packages above:
make image PROFILE="rpi-4" PACKAGES="luci kmod-r8169 kmod-usb-dwc2" FILES=files/Once the build process finished, the image was available at the following path. (I used the ext4 version of the image rather than the squashfs version, since the latter is a compressed filesystem meant for very limited storage. The distinction is described in more detail here.) Since I used Multipass to build the image, I mounted a local directory to transfer this file back to my host macOS.
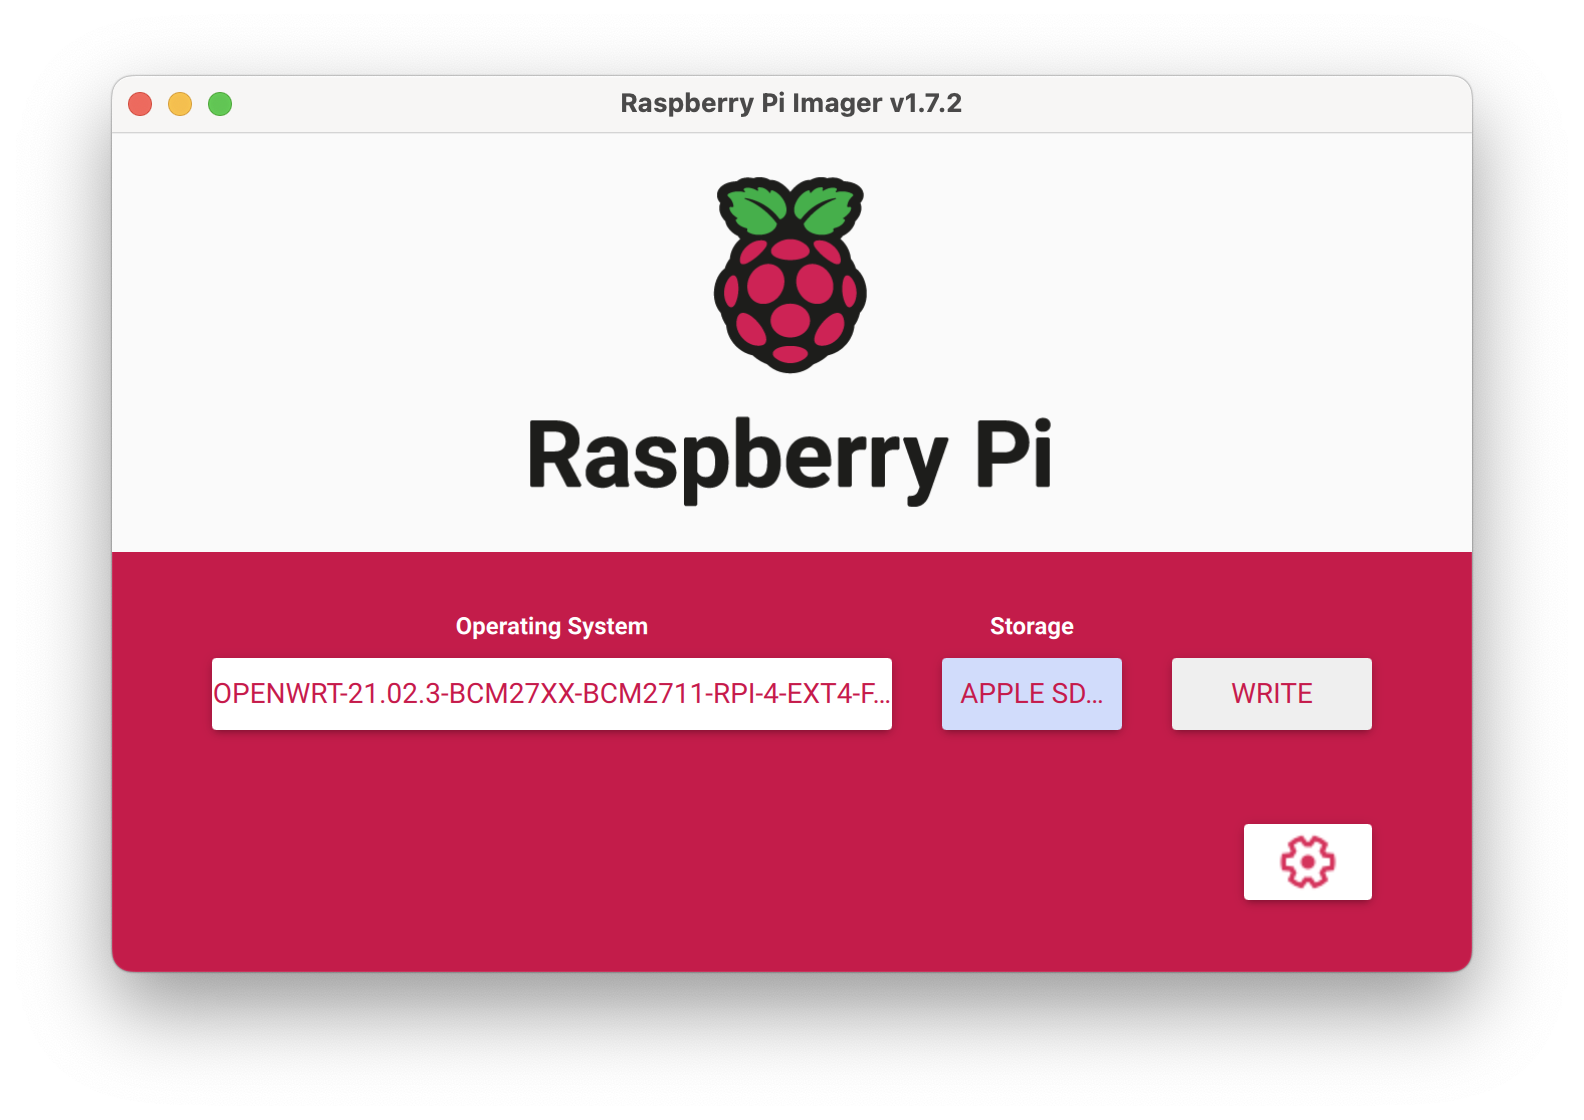
cp bin/targets/bcm27xx/bcm2711/openwrt-${BUILD_VERSION}-bcm27xx-bcm2711-rpi-4-ext4-factory.img.gz /my/mounted/dir/With the image file in hand, I used the Raspberry Pi Imager to write it to my microSD card:
Starting it up
It was finally time to power on the router. Here's what I did:
- Insert the microSD card into the slot in the router board. I found this difficult, since the microSD opening on the case is pretty narrow; I needed to use something thin to help push it in. The card makes a subtle click sound when fully inserted.
- Connect an ethernet cable from my computer to the router's
ETH1port (the ports are labeled on the case). (I didn't plug the Internet modem into theETH0port yet, since I wanted to set an admin password on the router first.) - Plug the Raspberry Pi power supply to power and then connect it to the router board's power port, labeled
POWERon the case.
I saw LEDs light up from inside the case and on the ETH1 port. I watched the IP address on my computer's network interface and after about a minute saw it be assigned an ethernet address ending in 192.168.1.. (I temporarily turned off my computer's wifi interface beforehand to avoid IP address conflicts.)
Setting a password
At that point, I was able to reach the router by opening a web browser and navigating to 192.168.1.1 🙌 I was presented with the login page, where I logged in with the default login of username root and an empty password.
After that, I immediately set a strong password by navigating to System → Administration → Router Password. I could now also access the router over SSH by running ssh [email protected].
Connecting it to my network
At that point, the router was ready to be connected to the rest of my network. I disconnected my computer's ethernet port from ETH1, connected my R7000 to ETH1 instead, and then connected my Internet modem to ETH0. With my computer now connected to the R7000's network, I followed these instructions to activate Access Point (AP) mode on the R7000, instructing it to delegate all router functions to the newly-connected router. The R7000 rebooted and things just worked, with wireless devices continuing to connect as before, but with traffic now flowing through the new RPi-based router.
Expanding to use the entire microSD card (optional)
The OpenWRT installation image is only a few hundred megabytes in size and doesn't expand by default to use the entire microSD card's capacity. This is a quirk of how the image is generated and written to the microSD card — there's no reason not to expand it to use all the capacity available.
I read a few techniques for how to expand the image, but the one that ultimately worked for me is shown below, based on these instructions. (Note that these commands are run on the router after connecting to it using ssh [email protected].)
root@OpenWrt:~# opkg update && opkg install resize2fs parted tune2fsroot@OpenWrt:~# parted(parted) p(parted) resizepart 2 100%(parted) qroot@OpenWrt:~# reboot
root@OpenWrt:~# mount -o remount,ro /root@OpenWrt:~# tune2fs -O^resize_inode /dev/mmcblk0p2root@OpenWrt:~# fsck.ext4 /dev/mmcblk0p2 # Answer 'y' to promptsroot@OpenWrt:~# reboot
root@OpenWrt:~# resize2fs /dev/mmcblk0p2root@OpenWrt:~# reboot
root@OpenWrt:~# df -h # Confirm size of root filesystem matches size of microSD cardFinished
With that, the project was done: I had the same reliable wifi connection, but with network traffic now flowing to the Internet through a secure, regularly-updated, fast, and very capable router.
Making the most of OpenWRT
Here are some resources I found useful for making the most of OpenWRT's capabilities: